How to Build a Timber Paling Fence: A Comprehensive Guide For Australians
Building a new timber fence might be the perfect project for you if you’re considering adding a touch of rustic charm to your property while also enhancing its privacy and security. Timber paling fences have been used as boundary fences in residential and rural areas for centuries, providing both functional and aesthetic benefits. This extensive guide’ll walk you through constructing a timber paling fence, from selecting the right materials to mastering the essential techniques. Whether you’re a seasoned fence installer or a DIY enthusiast, this article has something for everyone.
Getting Started: Materials and Tools
Building a timber paling fence requires careful planning and the right set of tools and materials. Here’s what you need:
Timber Selection
- Choosing the Right Timber: Your choice of timber is crucial. Opt for durable and weather-resistant wood, such as treated pine timber or hardwoods like cedar or redwood. These woods are sturdy and naturally resistant to decay and insect infestations.
- Paling Dimensions: Decide on the width and thickness of your fence palings. Standard dimensions are around 75mm wide and 15mm thick, which can vary based on your design preferences.
- Posts and Rails: Select sturdy, rot-resistant timber posts and fence rails. Treated pine timber fence posts or hardwoods work well for this purpose.
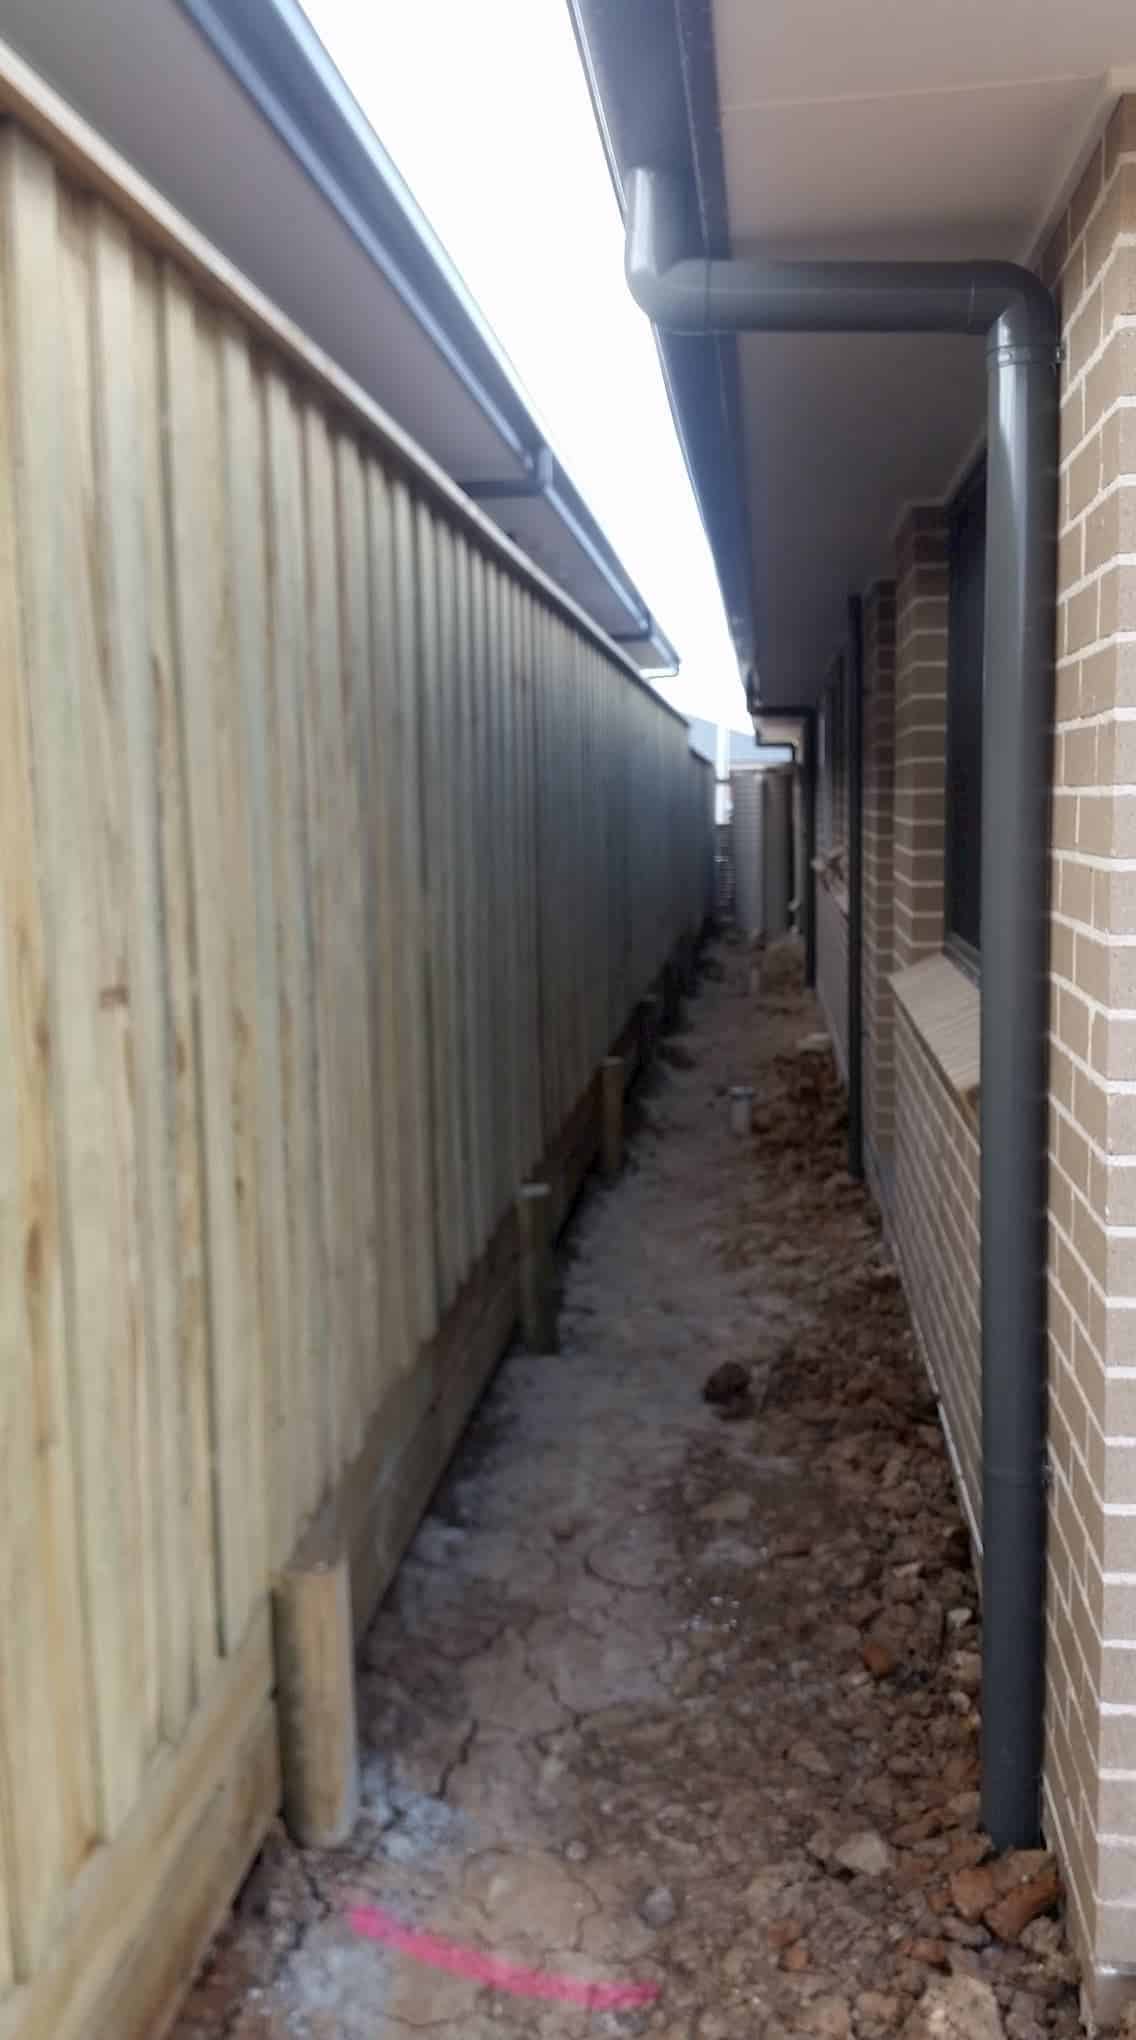
- Plinth: many people are now choosing to install a plinth at the bottom of their fence as it is usually resistant to determination and, if it does deteriorate can easily be replaced.
Essential Tools
- Hammer and Nails: A trusty hammer and high-quality nails are your best friends during the construction process.
- Circular Saw: You’ll need a circular saw for cutting timber to size accurately.
- Spirit Level: Ensure your fence is straight and level with a spirit level.
- Post Hole Digger: Digging post holes can be physically demanding, so a post hole digger will save you time and effort.
- Concrete Mix: For securing your fence posts firmly in the ground.
- Measuring Tape and Pencil: Precise measurements are essential for a professional finish.
- Safety Gear: Don’t forget safety glasses, ear protection, and gloves.
Planning Your Timber Paling Fence
Now that you have your materials and tools ready, it’s time to plan your fence installation.
Design Considerations
- Fence Height and Privacy: Determine the height of fence that you want and how much privacy it should offer. This will influence the number of palings you need.
- Spacing and Overlap: Decide on the gap between each paling and how much they should overlap for maximum privacy and stability.
- Gate Placement: If your fence will include a gate, plan its location carefully for easy access.
Calculating Materials
- Measure the Perimeter: Measure the length of the area where you plan to install the fence to calculate the number of palings, posts, and rails required.
- Estimate the Concrete: Calculate the amount of concrete needed for securing the posts. Typically, you’ll need one bag of concrete mix per post hole.
- Account for Wastage: Always buy a little extra timber to account for cutting errors and future repairs.
Building Your Timber Paling Fence
With your plans in place and materials ready, it’s time to dive into the construction process. But first if you have an old fence on the fence line then you will want to ensure that the old fence has been pulled down and removed first.
Setting the Posts
- Digging Post Holes: Use the post hole digger to dig holes for your fence posts. The depth should be around one-third of the post’s length. Ensure that the post holes and fence post is straight, you should use a string line to check that they are in a straight line.
- Inserting the Posts: Place your fence posts in the holes and use a spirit level to ensure they’re perfectly vertical.
- Securing with Concrete: Mix the concrete according to the instructions and pour it into the post holes around the post. Allow it to set for at least 24 hours.
Installing Rails
- Top and Bottom Rails: Attach the top and bottom rails horizontally to the posts. These rails will provide stability to your fence structure.
- Intermediate Rails: Depending on the height of your fence, add intermediate rails for extra support.
Attaching Palings
- Starting from the Top: Begin attaching your palings from the top rail and work your way down. Ensure they have the desired overlap and spacing.
- Nailing Techniques: Put the paling on the fence and put a nail in each fencing post. Use two nails at each attachment point for added strength. Make sure the nails are driven in straight to prevent splitting.
- Check for Level: Periodically check with your spirit level to ensure your fence is level and straight.
Completing the Fence
- Finishing Touches: Trim any excess length from the palings to achieve a neat, uniform appearance.
- Staining or Painting: Depending on your wood choice and design preferences, you may want to stain or paint your fence for added protection and aesthetics.
Frequently Asked Questions (FAQs)
Let’s address some common questions about building a timber paling fence:
1. How long does it take to build a timber paling fence?
Building a timber paling fence can take a few days to a week, depending on the size and complexity of the project.
2. What’s the cost of a timber paling fence installation?
The cost varies significantly based on factors like the type of timber, fence height, and labour costs. On average, expect to spend between $150 to $200 per linear meter. Some companies will provide fence quotes for you.
3. Can I build a timber paling fence myself?
Yes, if you’re comfortable with basic carpentry and have the right tools, you can certainly tackle this project as a DIY endeavor. If you don’t think you are up to it you can always hire a timber pailing fence installer or builder.
4. Do I need a permit to build a timber paling fence?
Permit requirements vary by location, so check with your local authorities to ensure compliance with regulations.
5. How do I maintain my timber paling fence?
Regular maintenance involves cleaning, staining or painting, and checking for loose or damaged palings. This can help extend the lifespan of your fence.
6. Are there eco-friendly options for timber paling fences?
You can choose sustainable timber options or consider recycled materials to reduce the environmental impact.
7. What’s the expected lifespan of a timber paling fence?
Properly maintained, a well-built timber paling fence can last 15 to 25 years.
8. Can I install a gate in my timber paling fence?
Absolutely, gates can be incorporated into your fence design for easy access.
9. What are some alternative designs for timber paling fences?
You can explore various styles, including picket fences, horizontal palings, or even decorative lattice tops.
10. Is it possible to add security features to a timber paling fence?
You can enhance security by adding locks, spikes, or motion-activated lighting.
Conclusion
Building a timber paling fence is a rewarding project combining craftsmanship and functionality. Whether you want to increase your property’s curb appeal, establish boundaries, or boost security, a well-constructed timber paling fence can meet your needs. Remember to plan carefully, choose high-quality materials, and follow the steps outlined in this guide. With a little effort and creativity, you’ll have a beautiful and enduring addition to your property that will stand the test of time.
So, are you ready to embark on your timber paling fence installation journey? Gather your tools, pick out the perfect timber, and let your creativity shine as you build a fence.

